Thursday, 27 March 2014

Alderley Edge Antique and Craft Fair

I now have a new blog address.
To look at this post at jodegenhart.com just click this link- Alderley Edge Antique and Craft Fair


Wow, it really has been a long time since I posted on here. Things have been chaotic here and I suppose sometimes the hard and stressful things in life get in the way of the things we really want to do. I have been craving some creative time and time to think about getting myself into gear and have now managed to find it.

I was so glad that I had booked a Craft Fair for March at the end of last year as it has forced me to make time to create some Mothers Day and Easter cards and to think about what I want to be doing in the future.


So, Alderley Antique and Craft Fair was organised by Homemade Heaven. It was a really well organised event, a brilliant mix of handmade stalls, amazing live music from Heather Marie (who I would highly recommend if you want a vintage style wedding as her voice was beautiful and she really looked the part. I was dying to get up and have a dance to the music).

The venue was perfect and there was a great little tea room on a mezzanine floor, the organiser had obviously gone to a lot of trouble to create the perfect atmosphere and was just missing one ingredient. Crowds of people! It was relatively quiet which is a bit hard when you have worked hard to create handmade things to sell, and the weather was not good which never helps. That said I would do one of Homemade Heaven's fairs again as if it was only a little busier I think that it would have been perfect.


I had revamped the stall a little for Spring and tried to create a brighter fell using white props that would be useful for all seasons with a change of product and table cover.


So I made a white peg board to display my products so that people have a better idea of what I create at first glance. 


I also purchased one of the manzanita trees to display my hanging decorations throughout the year. I was pleased with the results and it was nice to have a different and brighter look. 


Now, I have not forgotten that I promised you a crochet angel pattern for a peg doll and I also have some ideas for when you are crocheting Easter egg decorations (did you spot them on my stall?). I wanted to talk a little more about the flatbed press I bought on Ebay too. I will be posting about all these things in the next few weeks so pop back and take a look.

Jo x


Monday, 13 January 2014

Making Presents

I now have a new blog address.
To look at this post at jodegenhart.com just click this link- Making Presents


Firstly, Happy New Year!

Many appologies for not getting the crochet angel pattern up in time. As always time suddenly sped up before christmas and things really got away from me!

I began this post in december but never got it posted so thought I would change it into a post about presents.


Firstly, here is the finished Hot water bottle cover. Made from the granny squares of a nearly blanket and then the back was inspired by Little Woolies blankets (but much simpler!!)

This present was for my Nan and is the second cover I have made her. The first thing I crocheted as a gift was a cover for her hot water bottle made of a rectangular granny squares on both sides but as it had gone rather fluffy and the opening is coming undone I though a new one was in order. I have sewn buttons on it so that she can take the cover off to wash it but have left the end open so that she can fill it easily without the cover getting too stretched from repeatedly being taken in and out. I used four white buttons that she had given me in the summer, along with a whole bag of other buttons rescued from warn out clothes and coats that she had cut off.


I also made an infinity scarf for another present the week before Christmas from this Moogly pattern which was really easy to make but unfortunately after I finished it, patted myself on the back for being so organised, with 3 more balls to make 3 more scarves, I tried it on and realised it is the MOST itchy scarf I have ever worn! It seemed so soft when it was a ball but I suppose I should have checked before it was completely finished. Nevermind, back to the drawing board with those presents and it did mean that I had an excuse to go back to the wool shop.

So I bought some much softer yarn to make another infinity scarf for my sister which, while a bit fiddly to use came out nicely. I also crocheted a ribbed scarf which crossed and joined with a button for my mum and a bobbly hat from another of Moogly's brilliant pattern. I would recommend this pattern as it produced a really nice bobbly hat and I made thicker plated ties and a big pom pom on the top. Annoyingly as I was so rushed, I did not get a chance to take pictures of any of them except the hot water bottle cover (Mental note; must get better at taking pictures for the blog).

I made two of these bean bags form the Green Wife for presents to try and extend my really rather poor sewing skills. I made one of them with no oil added to the rice as the recipient does not like lavender. It was a good pattern, the rice filling was a little fiddly but the result was good. Unfortunately I could not find the lovely material she used and mine looked nowhere near as neat as hers but they worked as intended so are therefore useful!  Need to research more fabric shops as so far my choice is pretty limited close by.


So as for my New Years resolutions, I hope to write on the blog more regularly. And actually get that crochet angel pattern up on here!

Jo x


Monday, 9 December 2013

Another granny stripe blanket

I now have a new blog address.
To look at this post at jodegenhart.com just click this link- Another Granny Stripe


Well, I hope you have enjoyed the crochet star pattern. I have noticed that I made a mistake on it in row 3 and as I was asked for typed instructions I have corrected the pattern. Sorry, it is my first one and from now on I will type them!

Well, I hope that your plans are going well for Christmas. I have so many presents to make or buy and have been trying my hardest to support small businesses by buying presents from there. It is not easy, especially for the kids who want the toys in the adverts or from the programmes they watch. I think I have to be more organised next year and buy them from craft fairs earlier in november time. I have bought some lovely things on etsy though, lots of lovely handmade presents which also give you the warm fuzzy feeling of helping someone continue to craft as a job. I hope that you can find something on there!

Now, onto the granny stripe. So this blanket started as my first granny square blanket but as I was a little tight for time, it morphed into a stripped blanket. I have used the 12 squares I made to make my nan a new hot water bottle cover which I will post on here when it is finished (shh! Dont tell her, it is a surprise!).


The blanket was a christening present and is about a meter long (sorry I forgot to measure it before I gave it at the weekend- but that is what I was aiming for). It is made using patons smoothie dk again but I am not sure about the grey but went with it. I do love this yarn but I wish they would do a turquoise as it would look lovely with the other bright colours. I am learning lots about colour the more I crochet, usually too late to remedy any mistakes. You would think after all the art and design I have done I would know what I am doing with colour but with yarn it all seems much more complicated. I have found some great links on pinterest to yarn colour wheels that should help me in the future!


Something I have noticed with granny borders is that the more rows you crochet, the more wobbly it gets. I think next time I will try going down half a size in crochet hook to see if that helps.

Hope you enjoy the rest of your week and look out for a crochet angel peg doll pattern in the next few days.

Jo x
Tuesday, 5 November 2013

Crochet Star Pattern

I now have a new blog address.
To look at this post at jodegenhart.com just click this link- Crochet Star Pattern


Last Christmas I decided to crochet some decorations when I saw Attic 24's lovely Bauble Decorations. I loved the look of them but really wanted a five pointed star so after scouring the internet and not finding anything exactly as I wanted it, I decided to create my own pattern. Using Lucy's 'point', I recalculated the number of stitched to allow me to have just five points instead of 6. Having bought a couple of brilliant patterns from ATERGcrochet, I love her use of the decorative surface chain stitch so it inspired me to use it on these stars.

This is my first pattern so please let me know if it is not clear or hard to read.

*Edited to add- As the photo patern was not clear to everyone I have typed it up to add it. In doing so I noticed there was a mistake on the pattern in row 3. It should read '*sl, double crochet(dc) in next stitch, then (half treble(htr),tr, 2 ch, sl into 2nd ch, tr, htr) in the same stitch*. Sorry and thanks for the feed back!

Star Pattern

Magic ring

Row 1- chain(ch)3 then 9 treble(tr) into ring. Slip stitch (sl) to join and fasten off (10).

Row 2- Join 2nd colour. Ch3 and 1tr in same stitch, then 2tr in each stitch. Sl to join and fasten off (20).

Row 3- Join 3rd colour with a *sl, double crochet(dc) in next stitch, then (half treble(htr),tr, 2 ch, sl into 2nd ch, tr, htr) in the same stitch* repeat between * four more times. Fasten off. 
If not sure about the ‘sl into 2nd ch’ then see link to Attic24’s photo tutorial of this.

Row 4- Surface slip stitch between the tr in row 2. Fasten off.

To finish- Make two of the stars then with the wrong sides facing, whip stitch around the edges of the stars. If you catch only of the sides of the v of the crochet stitch then  it will create a ridge around the outline. Finish on one of the points and cut a 20cm tail. Chain stitch the tail then sew the end to the point to create a loop.


If the description of the point is not clear then Lucy's tutorial has a great photo description of how to do it. When I am making the stars I usually finish the round using the invisible join then tie the ends together behind as when the two stars are ties together you cannot see the ends, any excuse not to darn in the ends! Leaving the ends also gives the star a little padding which I like.


As a slight variation, here, I left off the surface slip stitch on  row 4 and replaced it with a row in between row 2 and 3 of;
*3 dc and then a long dc running in between rows 1 and 2* repeated 4 more times then finish with row 3.


Here I did it in a single colour in Aran weight yarn, leaving off row 4 again.


I hope you enjoy the pattern and have fun creating your own versions.

Jo x

Wednesday, 9 October 2013

Working on Christmas Decorations

I now have a new blog address.
To look at this post at jodegenhart.com just click this link- Working on Christmas Decorations


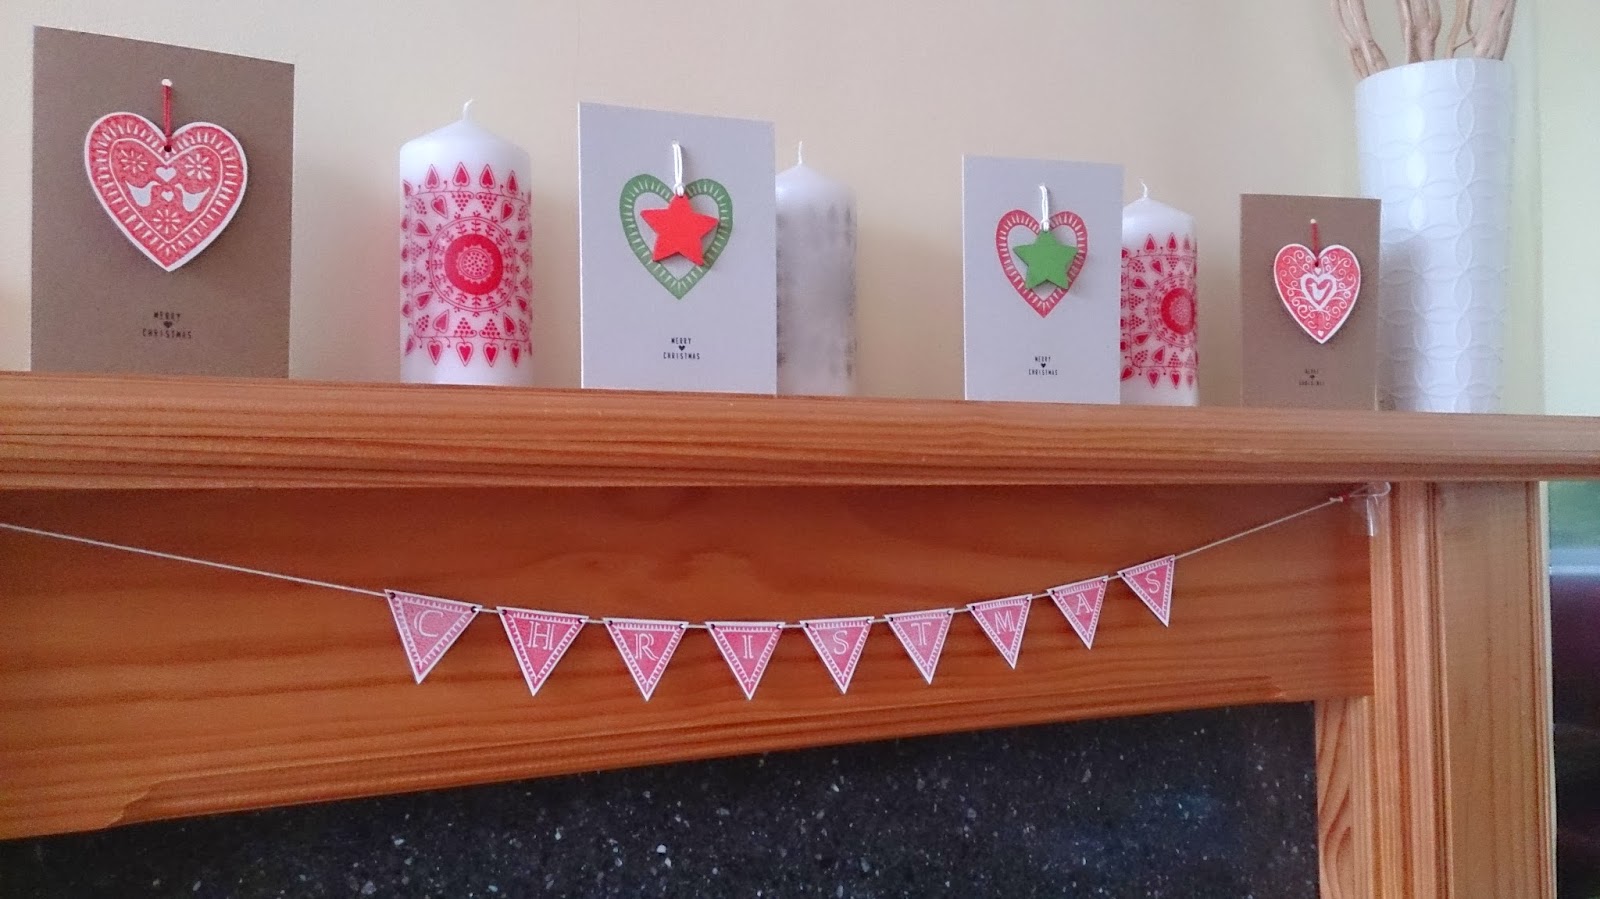
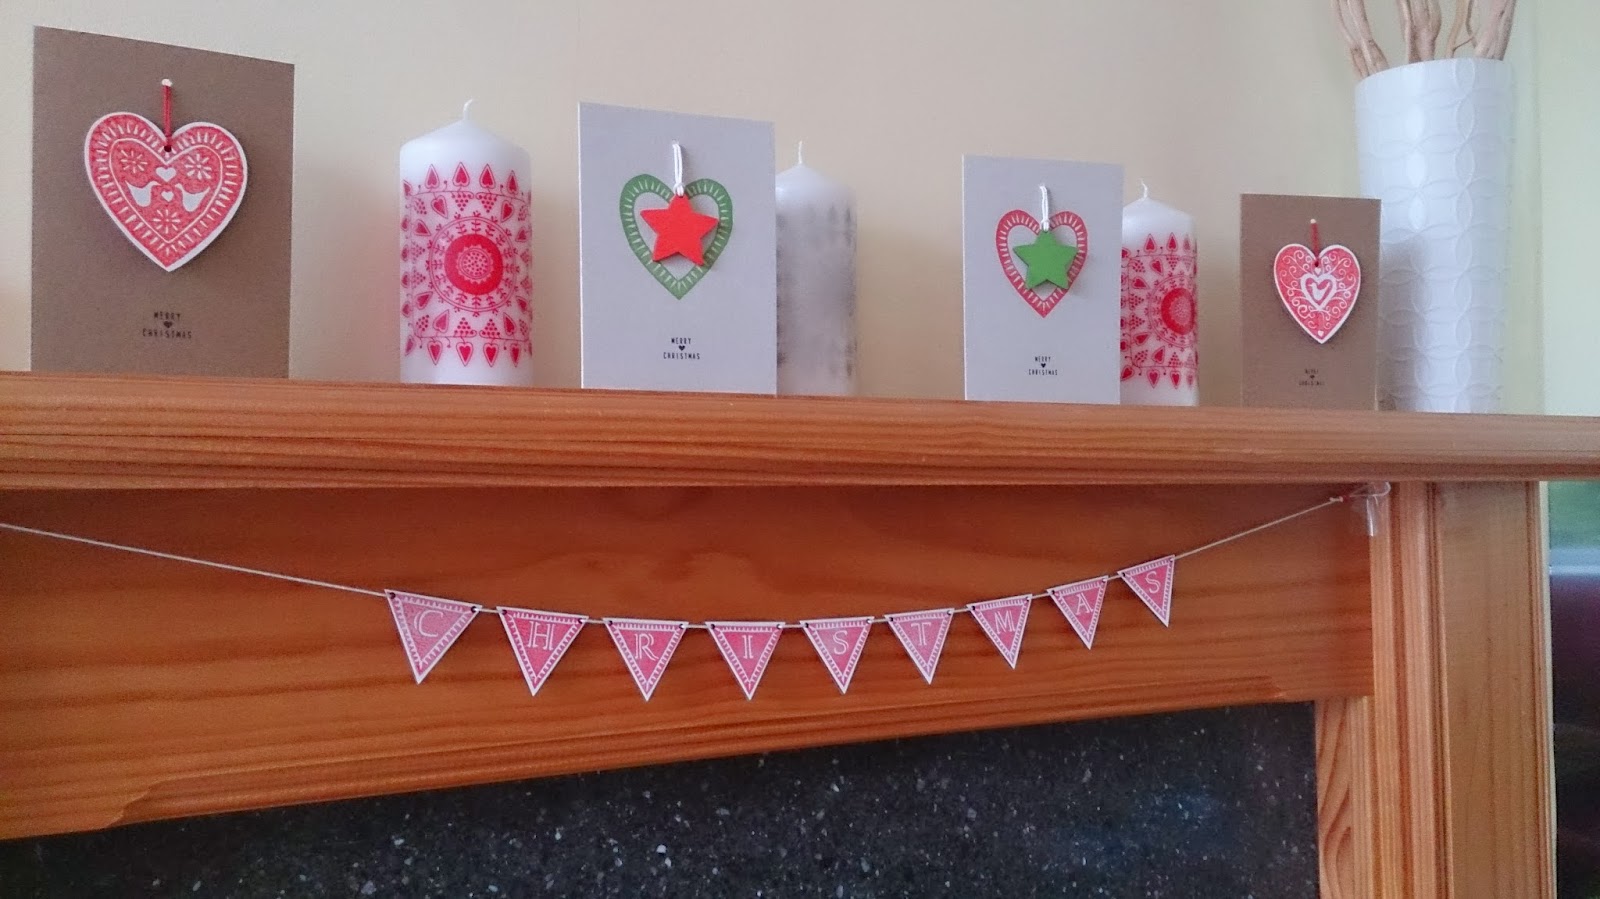
For the craft fair I did at Great Budworth, I got organised and made some decorations for Christmas. Here are some of the cards I was selling.


I also made some Christmas Bunting 


I hope you like them

Jo x


Saturday, 5 October 2013

Great Budworth Flower Show and Craft Fair

I now have a new blog address.
To look at this post at jodegenhart.com just click this link- Great Budworth Flower Show and Craft Fair


Last Saturday I went to the lovely village of Great Budworth again for a craft fair. This time there was a flower show in the church so the fair was held in the primary school just down a narrow cobbled street from the church. It was a small but lovely gathering with beautiful sewn bunting, aprons and decorations, beautiful knitted teddy bears and delicious fudge to name a few. Everyone was very friendly and the flow of people was steady.


I had managed to make some Christmas cards and decorations for the stall. Although it seemed a little early to be making them, it has forced me to be more organised rather than leaving it to the last minute (often too late) to get them online.


I have designed some Christmas bunting to hang up, little wooden bunting hand printed in the same style as the wooden decorations. I also have a new round wooden decoration for the Christmas cards and have made a round version to allow me to personalise it. I will post some picture of the new products when I get them on Etsy.


Jo xxx

Monday, 15 July 2013

Pondering products

I now have a new blog address.
To look at this post at jodegenhart.com just click this link- Pondering Products


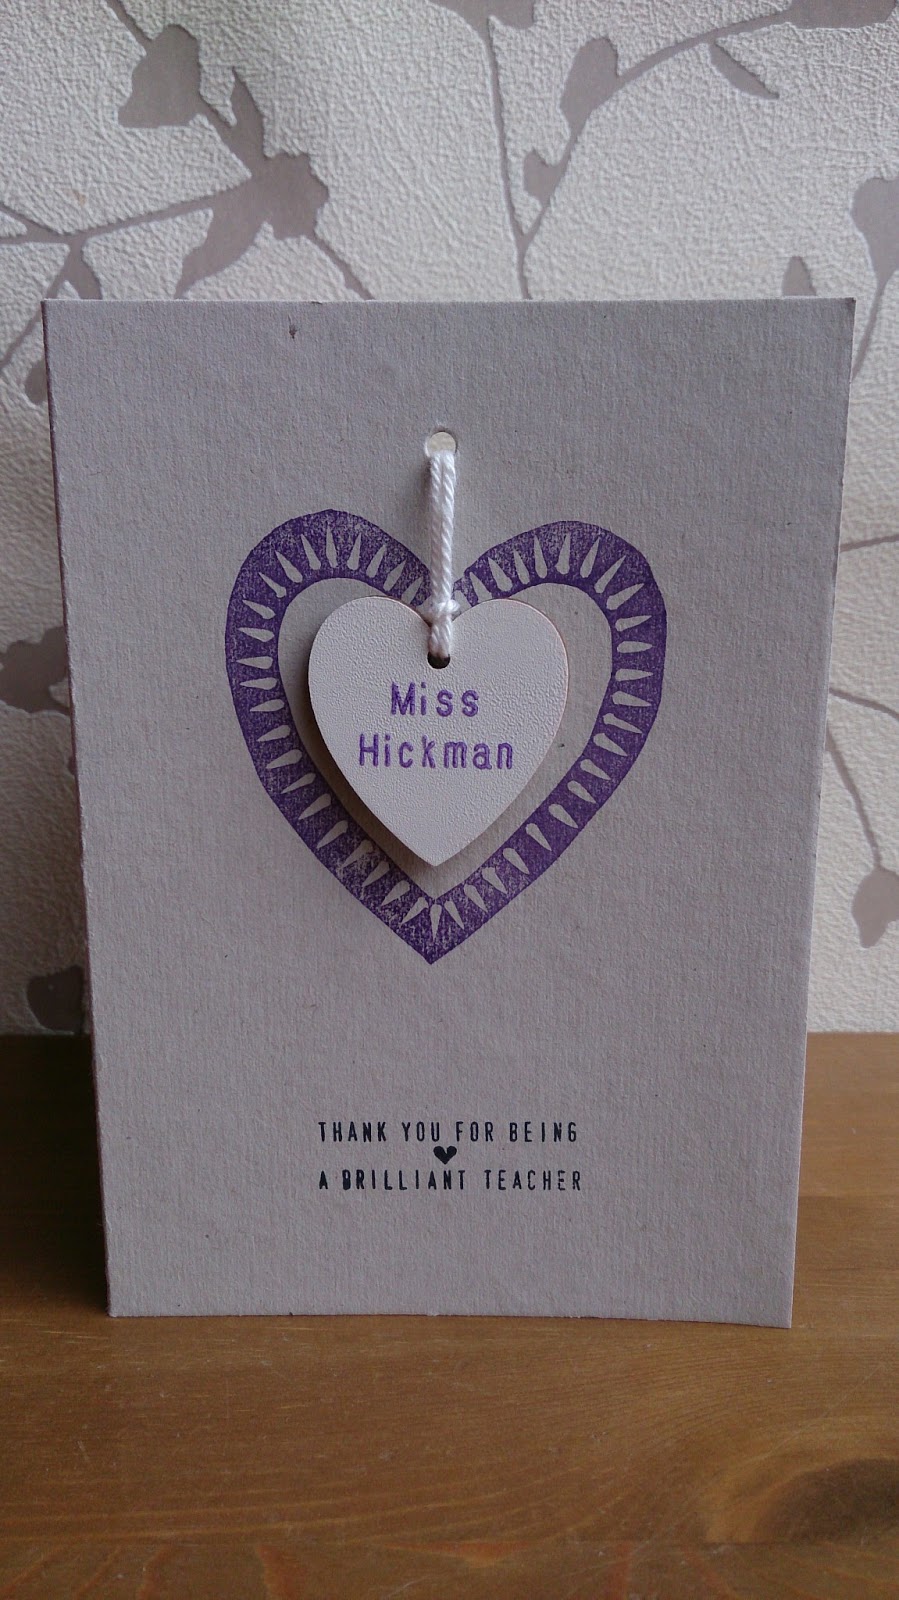
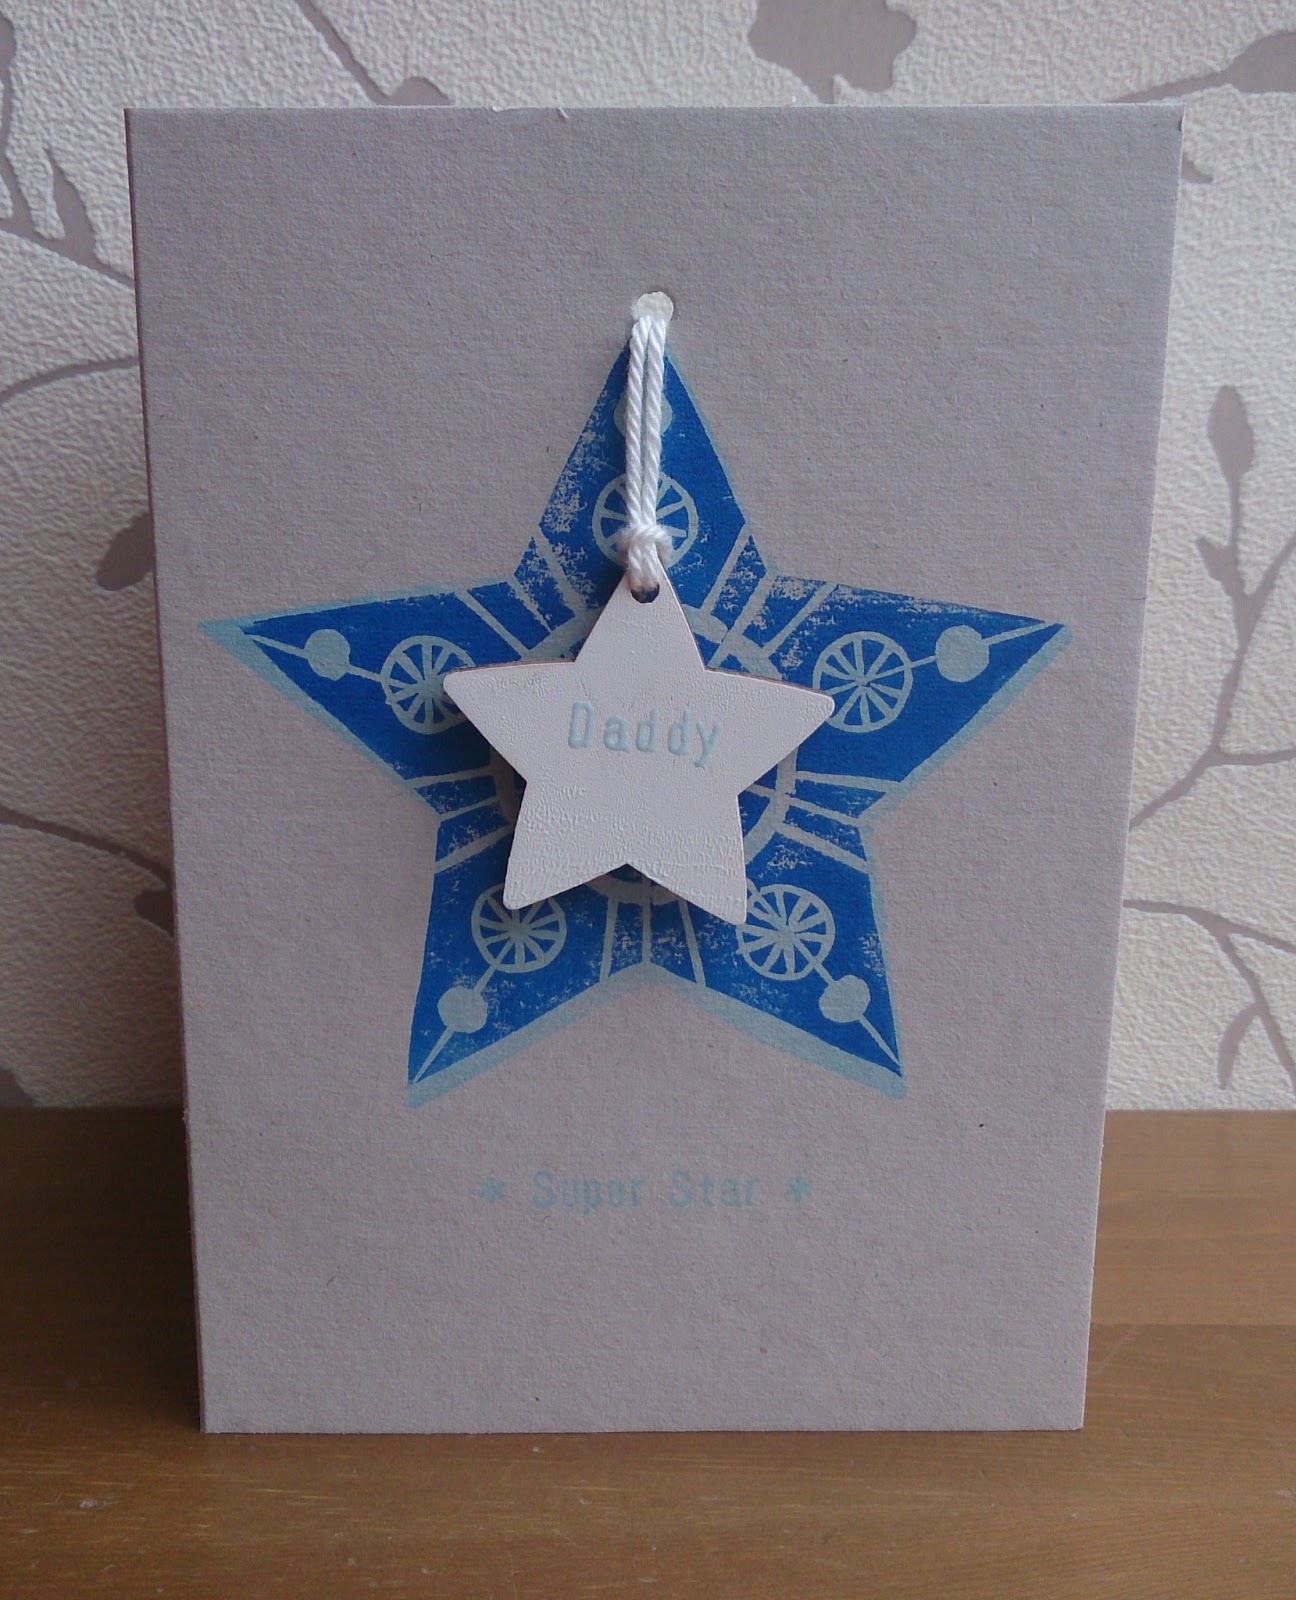
I made some Father's day cards for the craft fairs I did during June and some teacher cards for the end of term and it has got me thinking about exactly what area I want to concentrate on. The cards look good but I am just not sure it it the area I want to go into, a little bit more like scrapbook style cards.


The reason I decided to call the business 'By Jo Degenhart' is because what I really wanted to do was produce prints and artwork to sell and went into the cards as I though it was a good place to begin. I am really enjoying making the larger wooden decorations and embossing them and have plans for christmas and weddings but I feel I have lost my way a little by concentrating on them. I think I have built up the idea of having to create some amazing artwork into something huge and insurmountable.

So, now it is time to take a deep breath, sit down and start drawing. I am sure that when I sit down and begin it will just flow so watch this space!