I now have a new blog address.
To look at this post at jodegenhart.com just click this link- Crochet Easter Egg Pattern
This idea would work with any egg pattern you have, you would just split the pattern into two, make the first half as the pattern suggest then with the other half, just look at the number of stitches in each round to work out what your increase would be.
Easter egg pattern
This pattern uses British crochet terms. I used a variegated dk yarn and a 3.5mm hook but it would work with plain colours or in any size.
This pattern uses British crochet terms. I used a variegated dk yarn and a 3.5mm hook but it would work with plain colours or in any size.
Top
Start with a magic circle (or two foundation chains and then working into the first stitch). Leave a tail about 20cm long to create the foundation chain loop to hang the egg.
Row 1. 6dc (6)
Row 2. 2dc in each stitch (12)
Row 3. dc in each stitch (12)
Row 4. *dc in first stitch, 2dc in next stitch* repeat 6 times (18)
Row 5-7. dc in each stitch (18)
Row 8. *dc in next 2 stitches, 2dc in next stitch* repeat 6 times (24)
Row 9-11. dc in each stitch (24) fasten off and darn in the tail.
Bottom
Start with a magic circle (or two foundation stitches and then working into the first stitch)
Row 1. 6dc (6)
Row 2. 2dc in each stitch (12)
Row 3. *dc in first stitch, 2dc in next stitch* repeat 6 times (18)
Row 4. *dc in next 2 stitches, 2dc in next stitch* repeat 6 times (24)
Row 5-8. dc in each stitch (24) fasten off leaving a long tail to stitch the top to the bottom.
Making Up
Making Up
Now we should have a bottom half with a tail from the edge (tail from the magic circle darned in),
Starting with the top and using the 20cm length we left for the loop, use a needle to bring the end through one of the double crochet stitches around the magic circle.
Then push the crochet hook through the center hole and back out the same stitch the yarn end is coming through.
Put the yarn over the hook and bring it through the center hole then using that loop begin your foundation chain stitch until the loop is the desired length.
Pull the end through the loop then use the end to attach to the opposite side of the center hole then darn in the end on the inside.
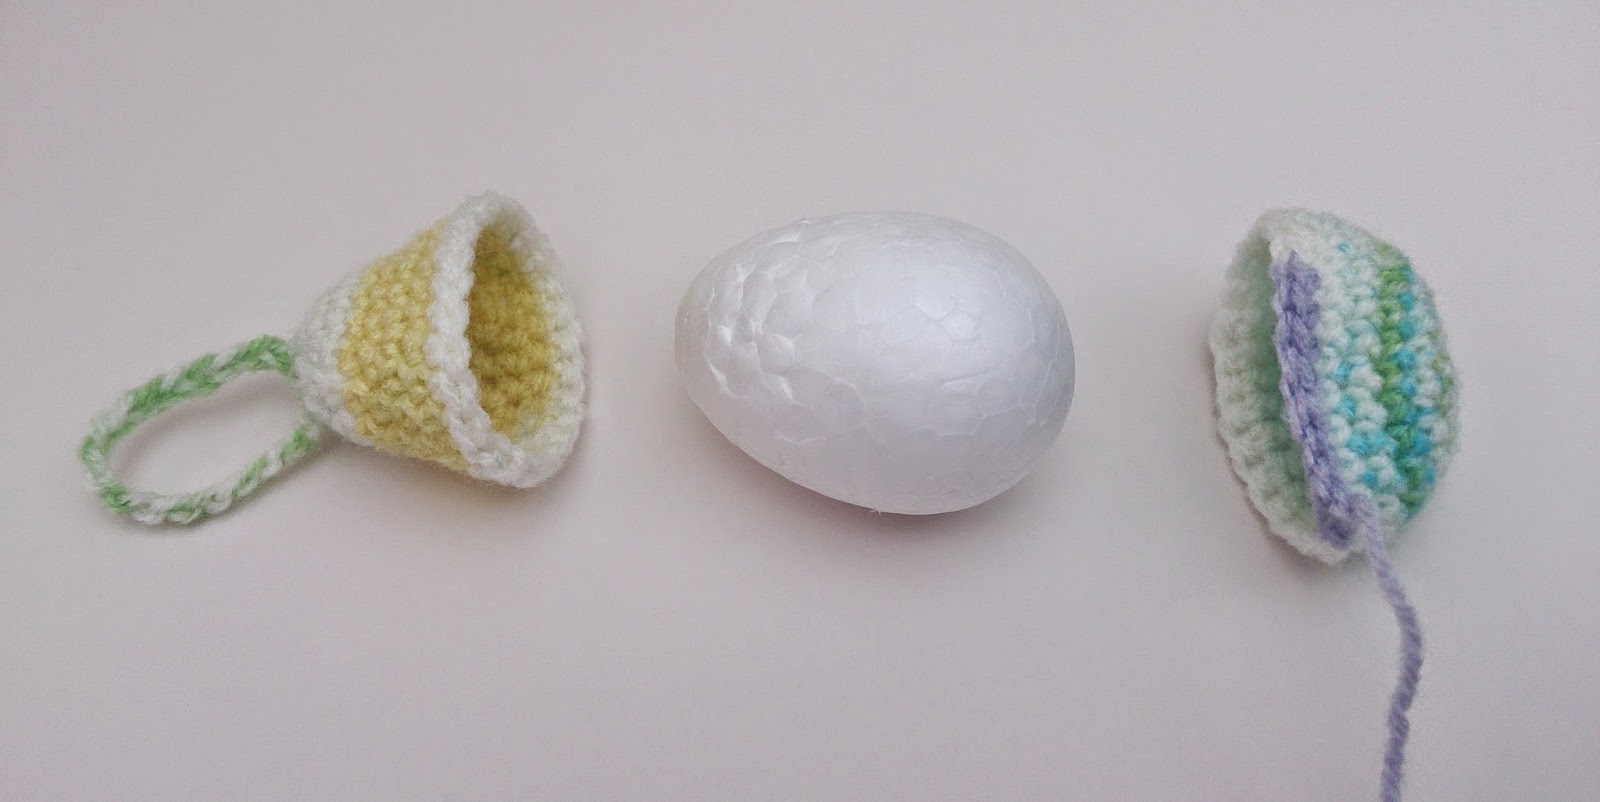
Now to stuff your egg. I prefer the hard shaped eggs so using stuffing as I think it gives a nicer shape. I would normally buy the recycled cardboard ones and paint them white before I used them (otherwise the brown shoes through) but as a friend was getting rid of these polystyrene eggs, I will not feel too bad as I saved them from landfill!
This bit is a little fiddly as the polystyrene tries to slip back out of its crocheted jacket.
Begin by sewing the two ends together for a few stitches then ease the egg into either end. You need to make sure that as you bring the two ends together with the stitches, you reposition the ends so that they are central.
If you want to use stuffing you would just start stitching up the egg as an empty 'shell' and then when you are about 3/4 of the way round, stuff until you have the shape you want then finish sewing the two sides together.
So there you have it, a crochet egg which looks good from the top
and from the bottom.
Now to make lots of them before easter!
Jo x
p.s. if you spot any mistakes, please let me know.


No comments:
Post a Comment